Disclaimer: I’m a newbie at shooting the moon and an amateur photographer at best. This blog post just details my experience and learning curve on my first ever proper moon shoot recently.
I seen something online about the next full moon and since I’d just purchased a second hand telephoto lens for my Canon EOS 500D, I though I’d mark the date in my diary and try get some decent moon shots for once.
Step 1 – Find out when and where the next full moon is
I’d found out the date of the next full moon no problem but I’d gone as far as setting up my tripod and camera on the balcony out the back of my apartment before I realised that I didn’t know what time exactly the moon would appear and in what exact position. I remembered roughly having seen the moon out the back before so I knew it was in that general direction after dark but because I had a small viewing angle with trees and stuff, I needed to know precisely where the moon would be at a particular time. I used this website below to give me all the details I needed on moon positions for my location:
I also used the handy “Sky Map” android app to show me the moon position and any other interesting objects close by in real time/augmented reality:
Step 2 – Equipment and Setup
I’d found out that the moon was going to be in just the right position to shoot at about 1:45am so I setup everything I needed before I went to bed that night and set an alarm. Here’s what I used:
- Canon EOS 500D (A camera is handy!)
- 75 – 300mm Telephoto Lens (Not quite powerful enough for Pro moon shots but way better than a normal lens)
- Tripod (Impossible without)
- Wireless Hot Shoe Remote control set (You can’t be shaky at high zooms! The camera’s timer or a remote phone app will do here too though..)
- Candles (As little light as possible in the immediate vicinity)
- A Smartphone (To shine on your camera buttons and google “moon camera settings”!)
Step 3 – Shoot, Shoot, Shoot..
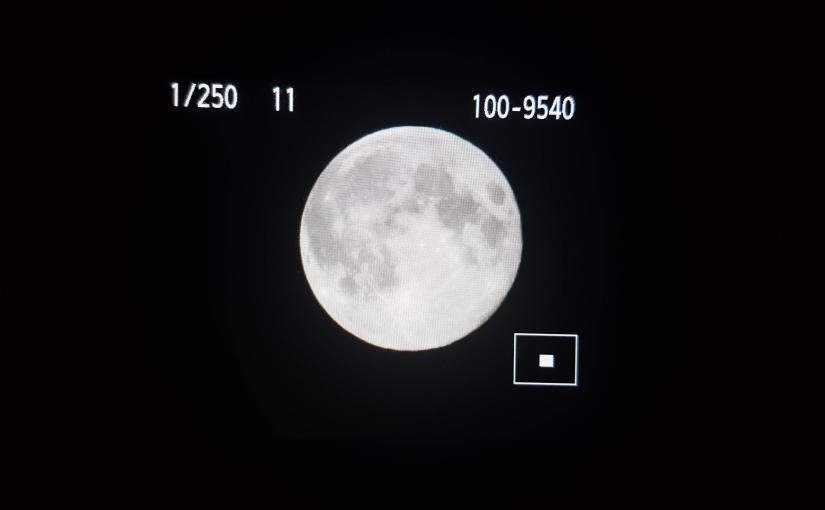
I ended up with 35 RAW images of the moon but deleted many more directly from the camera after checking the results in the camera LCD. The trick is to take a pile of shots, starting out with the generally accepted camera settings for photographing the moon, then varying things like Shutter Speed and Aperture to get different results. You really have to go full manual too as letting the camera try decide on the best settings for something that far away just doesn’t work.
In the end, the following settings seemed to work best for me:
- Full Manual Mode
- Shutter Speed: 1/125
- Aperture: f/11
- ISO: 100
Step 4 – Review
Getting the photos onto the computer and reviewing them is the fun bit. Sorting through to find that one photo (hopefully!) that stands out above the rest. Shooting in RAW allows some good control over editing your best images to enhance the results a little too.
Here’s my gallery of the shoot with the best shot I achieved:


